Hi & Welcome!
Today's card is a fun slider... I cheated and used patterned paper:) I hope you like it too! The supplies are linked below (afil). I didn't do a YouTube tutorial (daughter's wedding, work, etc.) but here's what I did:
1. I diecut the pinata on white heavy cardstock for a base. Then I cut two more out of patterned paper, being careful to use the same spot so colors matched underneath flaps.
2. I glued the first colored layer flat to white one, then lifted where possible the flaps on the 3rd layer, then glued it to second.
3. I diecut a slightly less than 4.25" x 5.5" white card and white fun foam with a slider die. I gave the foam time to puff back up before gluing to back of the front card. Then added foam tape around for extra lift to allow slider to move. I attached a slider plastic disk (you could use foam tape) to the center of a penny and let dry.
4. I attached a bit of white card on the slider area of the 4.25" x 5.25" black base so it would show through to front. I put the penny in the track, then adhered the front panel. I checked to make sure penny would slide freely before attaching the pinata to the slider disc.
5. I wrapped some baker's twine around his neck and made a bow. ( I did this loosely and added bow so he didn't look like he was on a hangman's noose! LOL!) I gave him a googlie eye for more fun.
6. I taped some twine behind him and the sentiment banner strip which is clear heat embossed and edged with black marker. Then added some of the fun candy to finish it off! Then I glued him to the slider disk.
Here is the little guy in action:
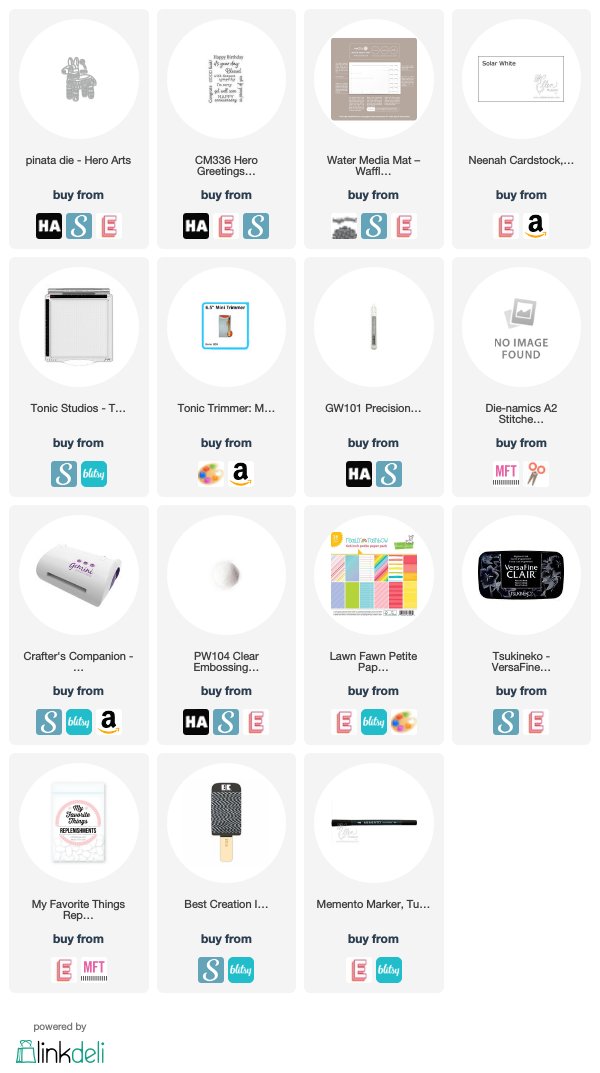
Here are the supplies I used. I really appreciate it when you use these links as I buy my own supplies and the small commission I get helps me buy new things to show you!


No comments:
Post a Comment
I love hearing from you! LMK by email if you have problems commenting or following. I am also grateful if you would kindly refer a friend or two! Thanks!